

📄 Guide
Before you call any endpoint, DCS must create your Enterprise and issue your API credentials, and you must give DCS the network egress addresses to whitelist. This page walks you through those steps. As a licensed issuer running its own BINs, DCS issues production credentials through a one-time secure retrieval mechanism so that keys cannot be intercepted by a third party. The full rules for the request signature headers and the HMAC-SHA256 algorithm are covered in the Authentication Guide.Environments and conventions (integration reference)
Environment URLs
Global conventions
- Timestamp fields carry a timezone offset (for example
+08:00) - Currencies use ISO 3-letter currency codes; countries use ISO 2-letter country codes
- Unless stated otherwise, Enterprise refers to your partner team
Step 1: Confirm your Enterprise and integration model
DCS creates an Enterprise for you. It is the identity that carries your access to the DeCard-Managed model, together with all of your card issuing, authorization, and account management capabilities. In this model, authorization decisions are made inside the DCS platform and each cardholder holds an independent account balance. See the Overview for the full model.Step 2: Collect your API Key and Secret Key
DCS provisions one pair of API credentials per Enterprise:- Sandbox: contact the DCS team directly for your API Key and Secret Key.
- Production: credentials are delivered through a one-time secure retrieval link so that keys cannot be intercepted by a third party. The full retrieval procedure (secure mailbox, retrieval IP, assembling and running the temporary link) is described in the Authentication Guide.
For how the API Key and Secret Key are used to sign requests with HMAC-SHA256, see the Authentication Guide.
Step 3: Submit your IP whitelist
Give DCS your network egress addresses, listed separately for sandbox and production. You can only call the APIs once DCS has whitelisted them. For what each type of whitelist covers, how sandbox differs from production, and the full submission instructions, see the dedicated IP Whitelisting page.The retrieval IP used to collect production credentials (Step 2) and the egress IP used for API calls are two different whitelists. Submit both.
Step 4: Import the Postman collection for fast integration testing
Make sure Postman is installed. If you are not familiar with git, open dcs-api-postman on GitHub and select Code > Download ZIP to get the repository files.DCS publishes a Postman collection and environments (JSON files) so you can try the RESTful APIs sooner. Import them, fill your own API Key, Secret Key, and host into the environment variables, and you are ready to go:
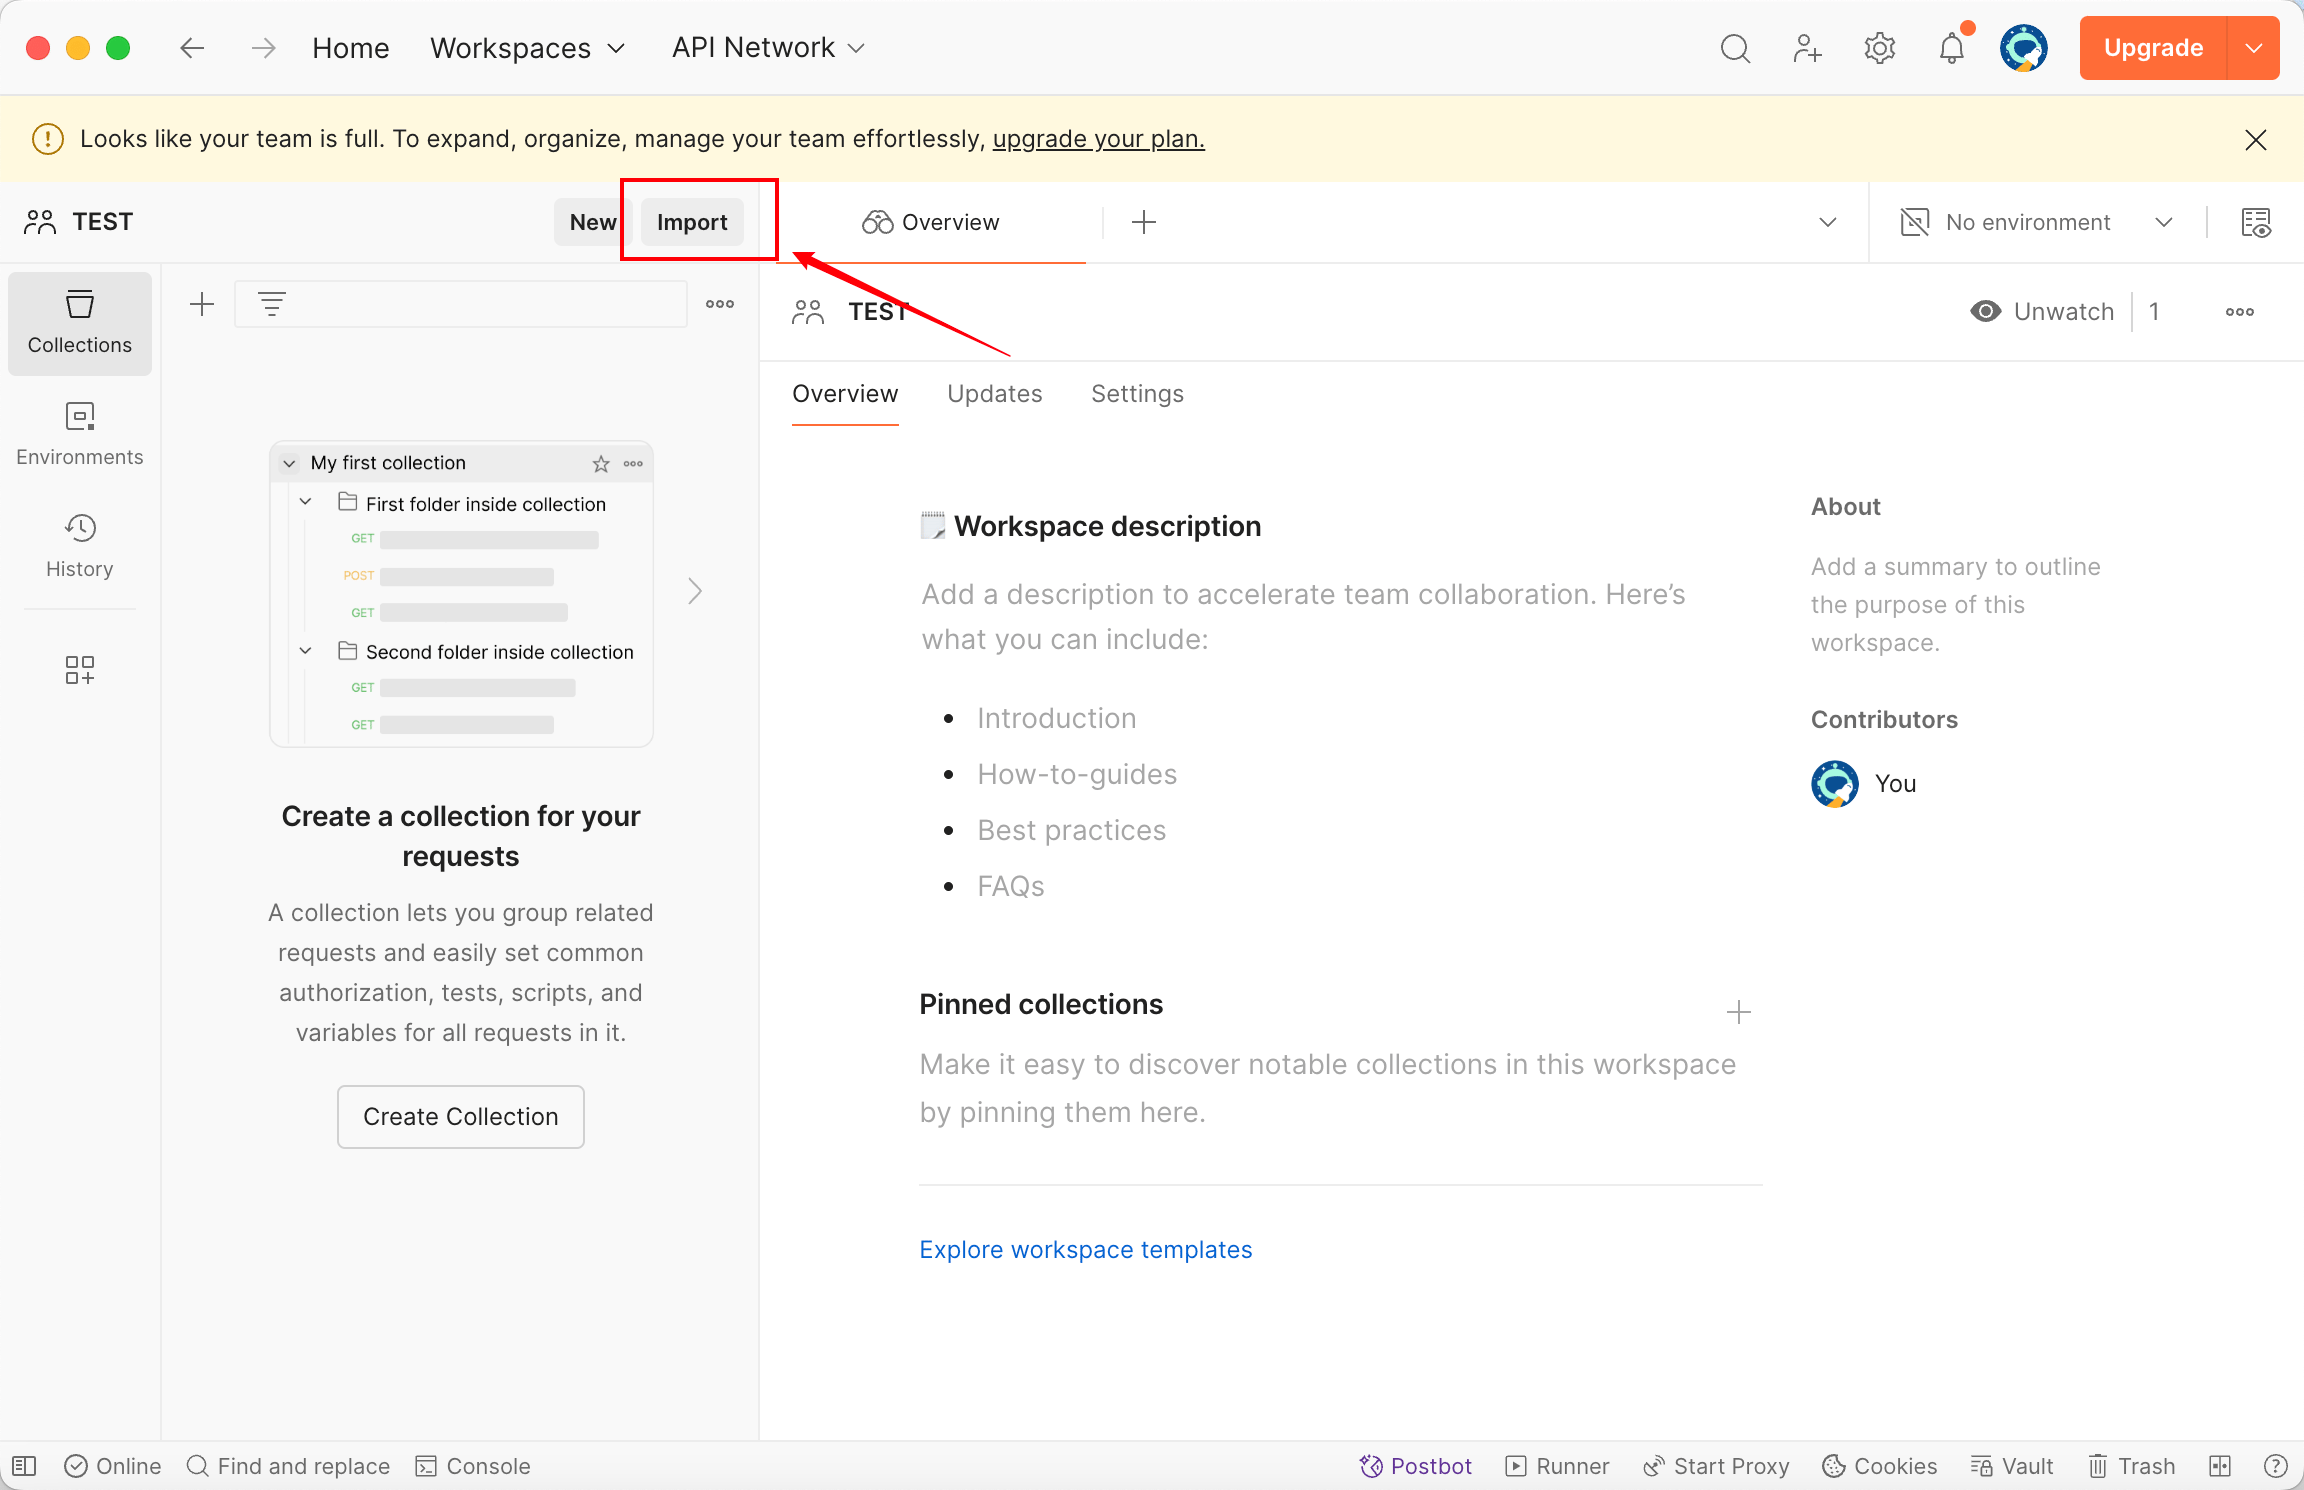
- Download the dcs-api-postman repository, then click Import in Postman (on macOS the button sits in the top-left corner).
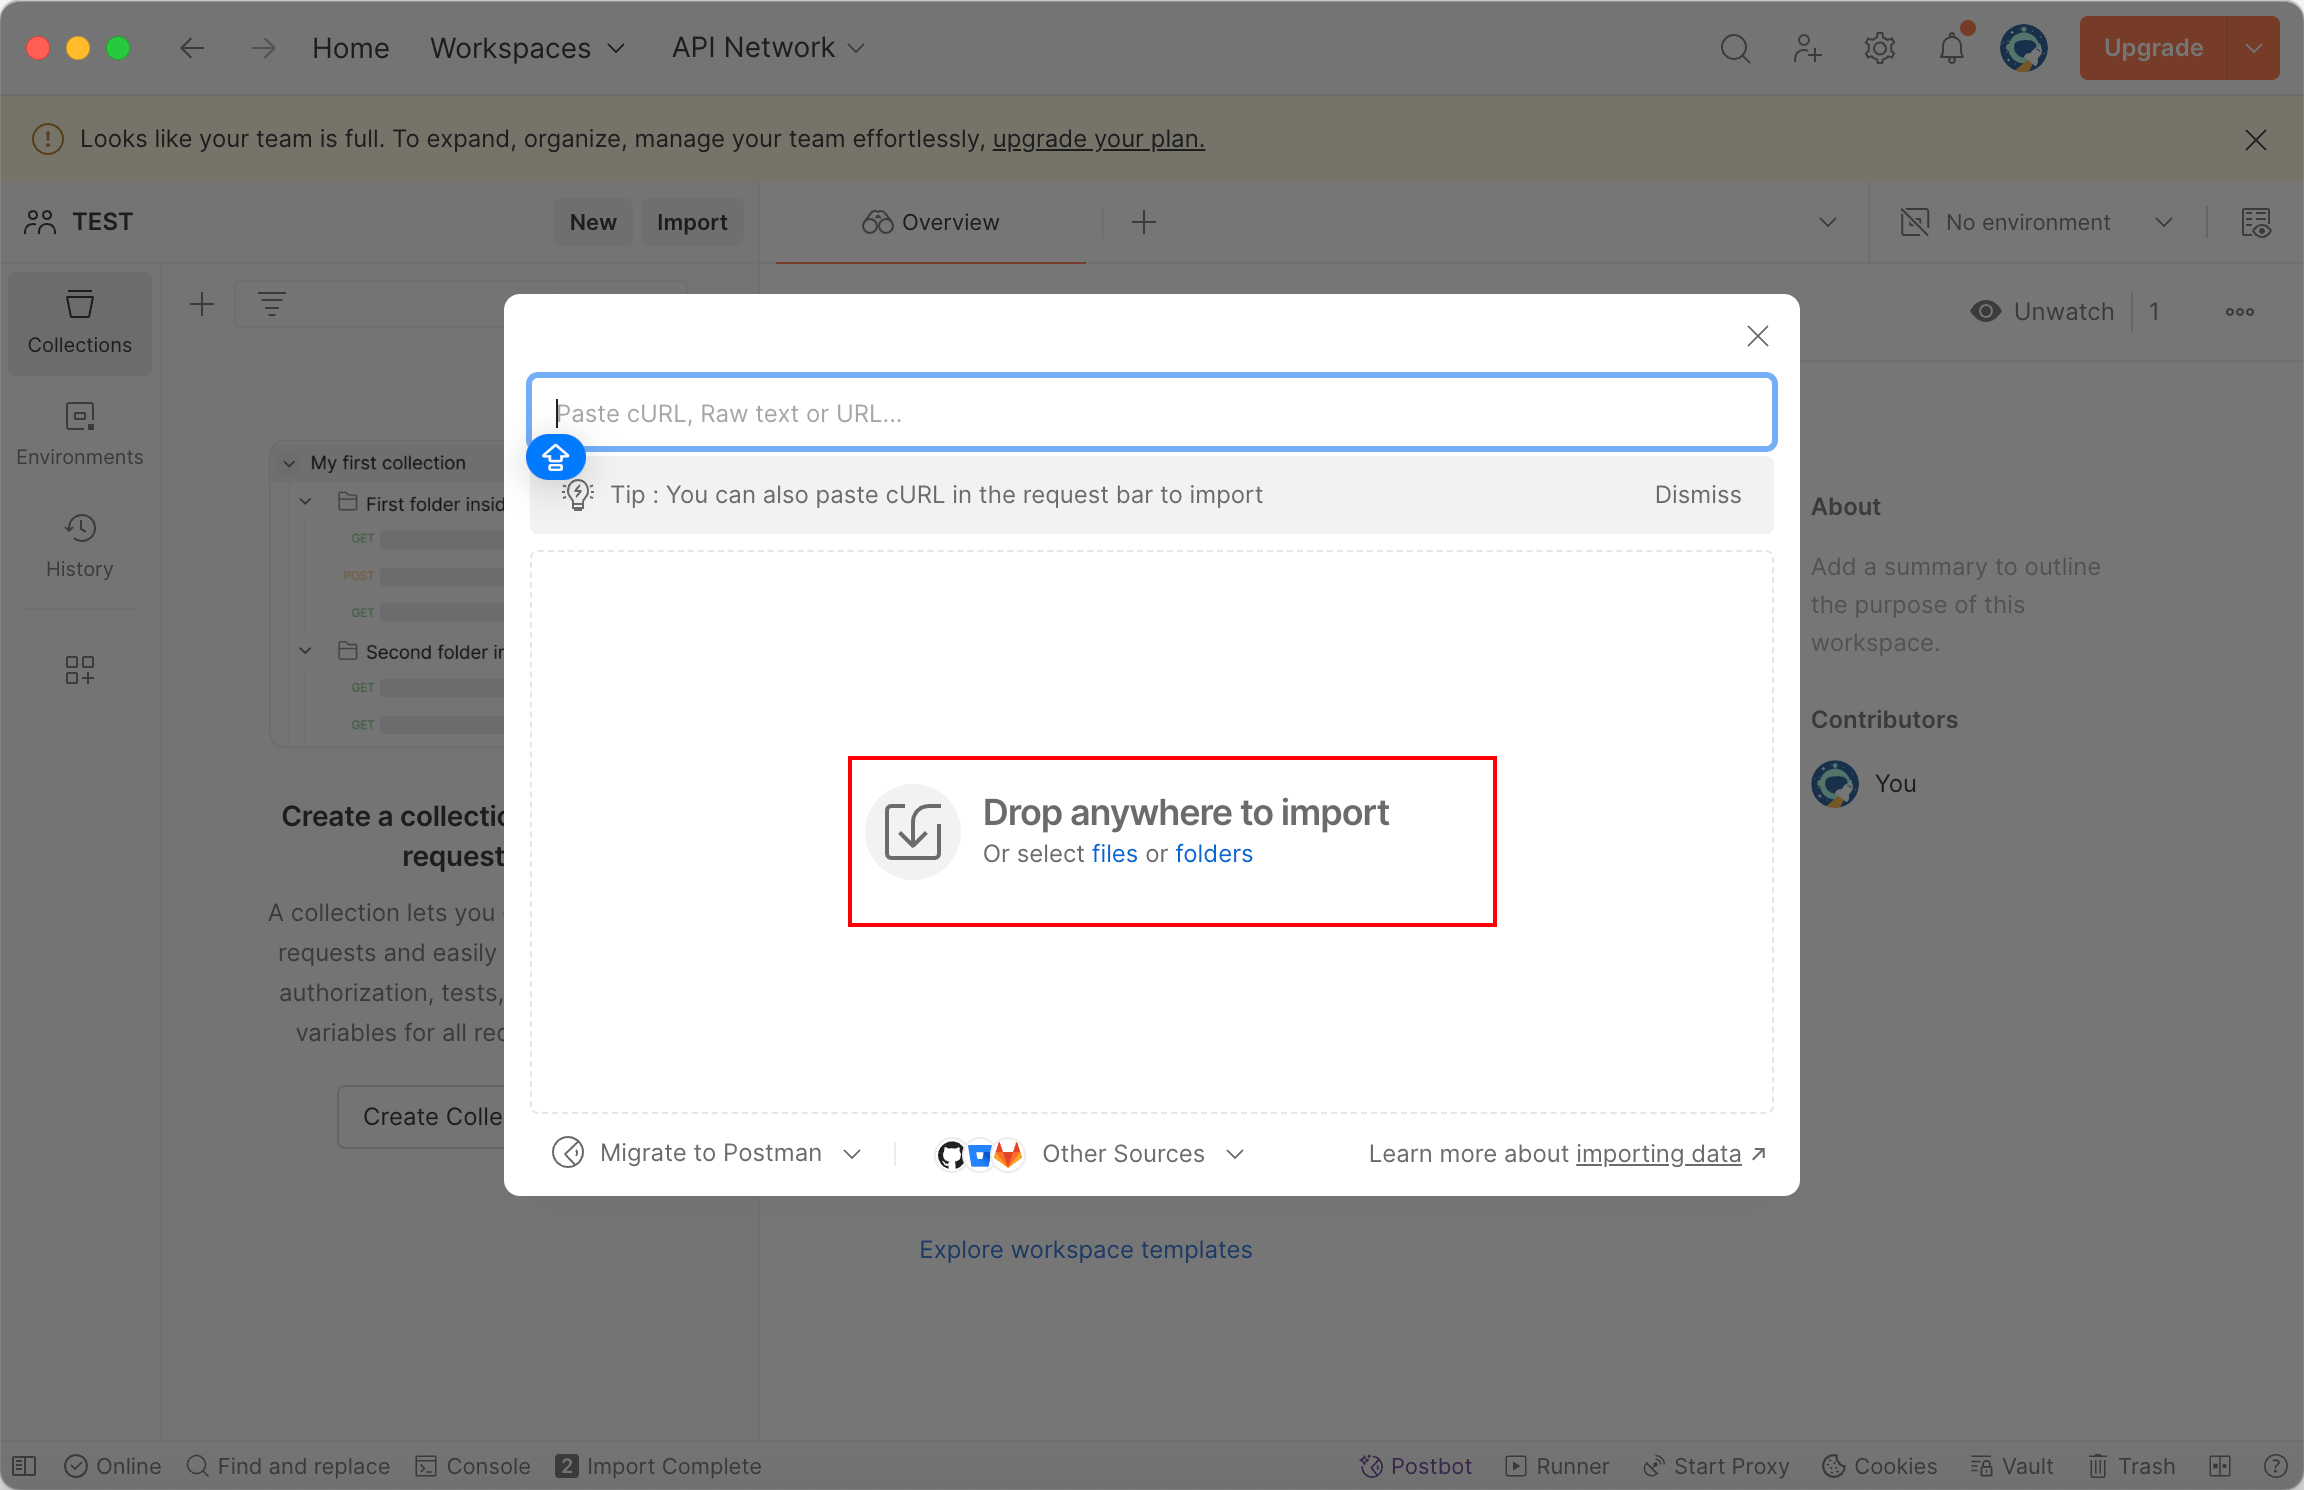
- In the Import dialog, open the “Folders” tab and import the collection and environment files you downloaded.
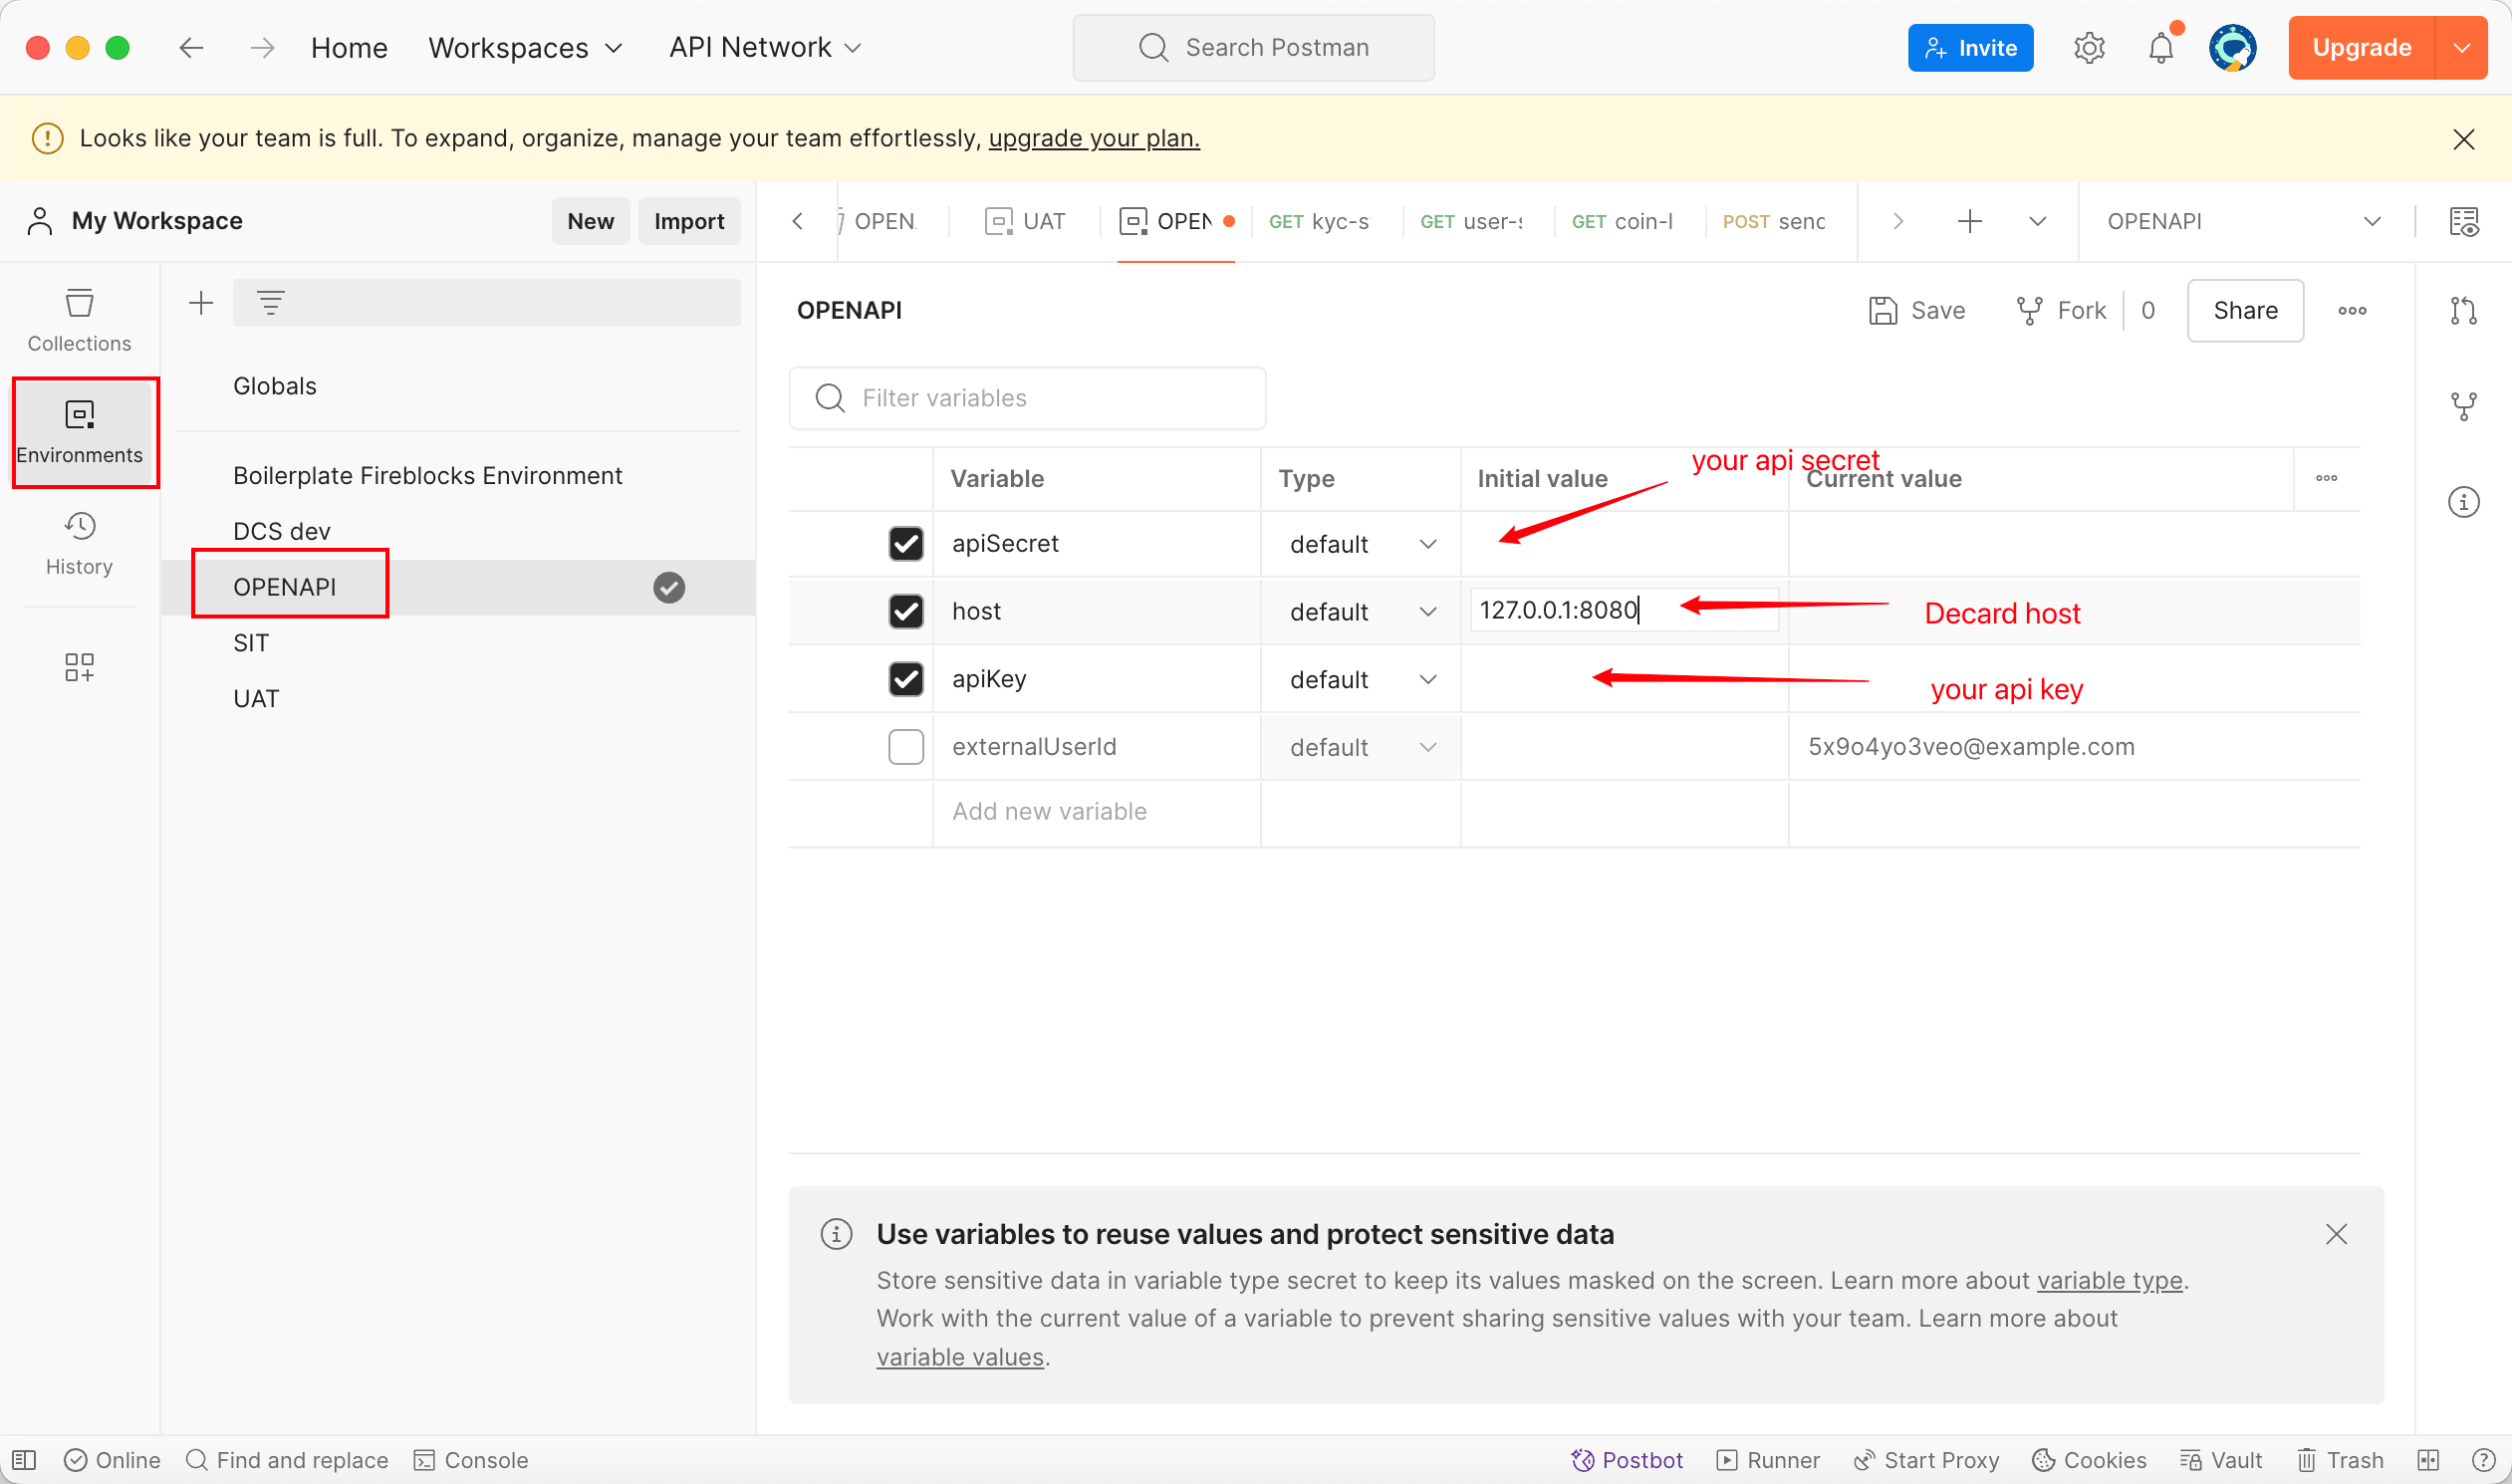
- Open the “Environments” tab on the left and fill in
apiKey(your API Key),secretKey(your Secret Key), andhost(the environment URL) in the “Current value” column of the environment you picked. Then select that environment from the drop-down in the top-right corner and start sending signed requests.
Security practicesOnce that is done, head to Quickstart and issue your first card in the sandbox.
- Do not use collections from unknown sources
- Review the contents of an environment JSON file before you use it
- Do not run any code you do not understand