

📄 Overview
Once a user has passed KYC, a single API call issues them a virtual card they can spend online immediately, and they can order a physical card afterwards if they want one. As a licensed issuer with its own BINs, DCS handles card issuing, KYC review, authorization decisions and settlement; all you deal with is how to submit the application, how to check its status, and what to do once the card exists. DCS supports two card forms:- Virtual card: no physical medium. It is activated automatically once the application is approved and can be spent online right away.
- Physical card: shipped to the user, and must be activated and given a PIN on arrival before it can be used.
Virtual cards fall into two usage patterns: single-use virtual cards (void after one transaction, the most secure option, suited to one-off payments) and reusable virtual cards (usable repeatedly until the card expires, normally with per-transaction and cumulative limits). Neither can be swiped in a physical store or used at an ATM. Which pattern applies is determined by the card product (categoryId), so confirm it with DCS before you start issuing.
Prerequisites
- The user has registered and has an account (see Signing Up a Customer).
- The KYC material is complete: the Sumsub
shareToken, any required POA documents, and employment and source-of-funds information.
Two ways to apply
The two options coexist; pick one:The application flow at a glance


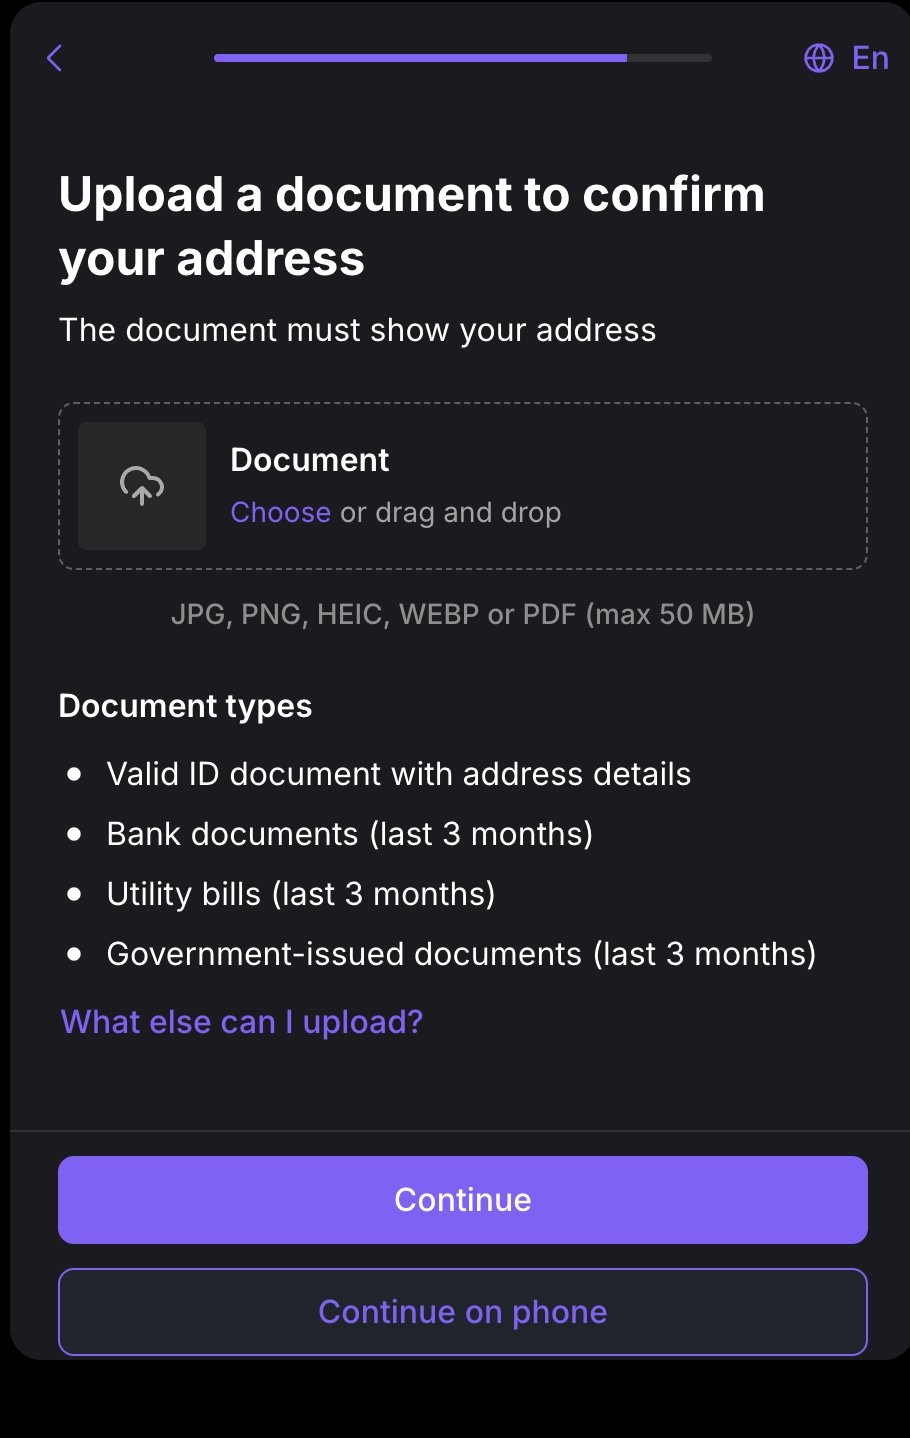
If you need to submit a POA document with the application, complete these three steps first:
- Call
POST /account/v1/generate-file-upload-prepareto obtain a pre-signed upload URL and anobjectKey;PUTthe POA file straight to the URL you were given;- Put the
objectKeyinto the POA fields of the application request (see the field table below).
Applying for a virtual card
Option 1: embedded H5 guidance page
CallPOST /redirect/v2/guidance-link with action set to KYC_GUIDE to obtain a guidance page URL. Open it in your frontend and DCS walks the user through KYC and card issuing. For the parameters and rendering options, see H5 KYC / Card Application Guidance Page.
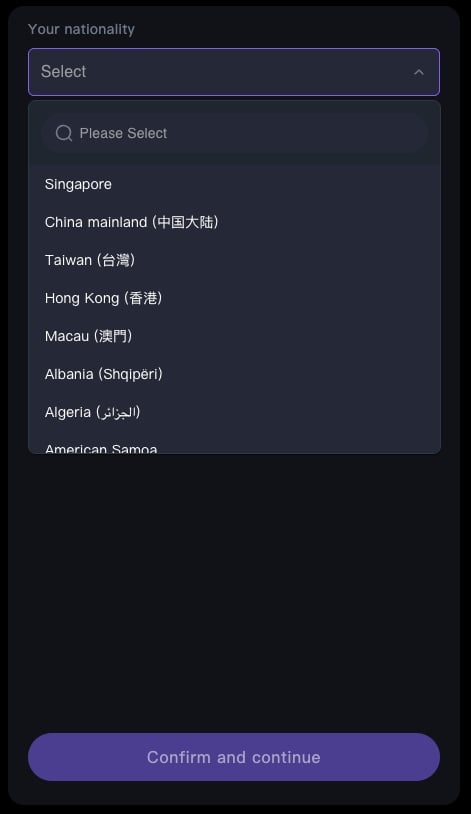
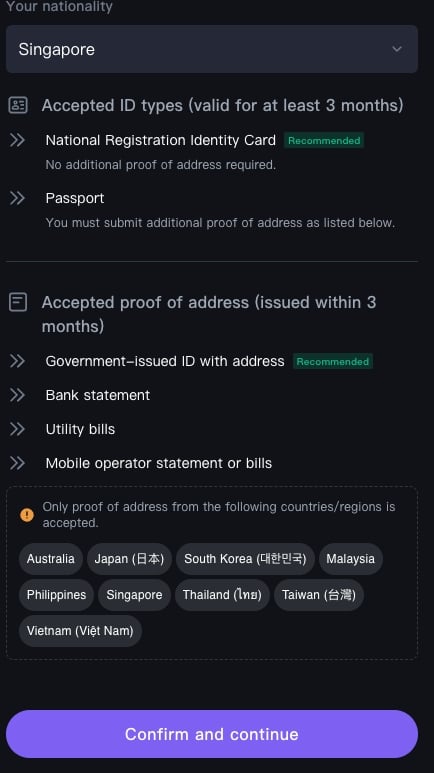
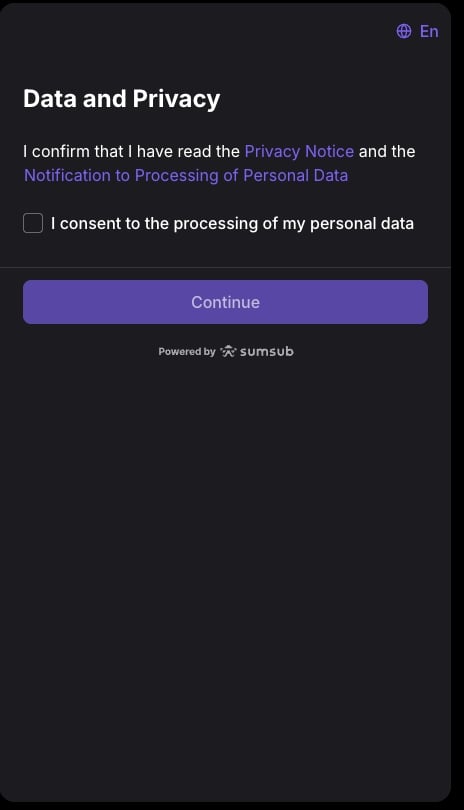
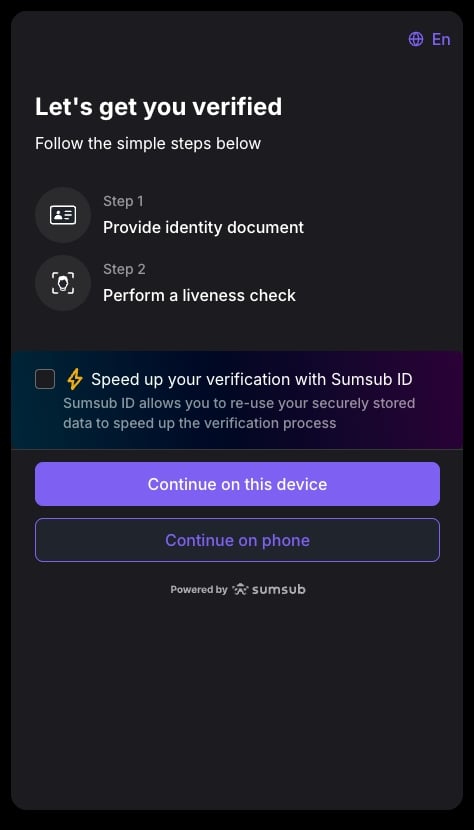
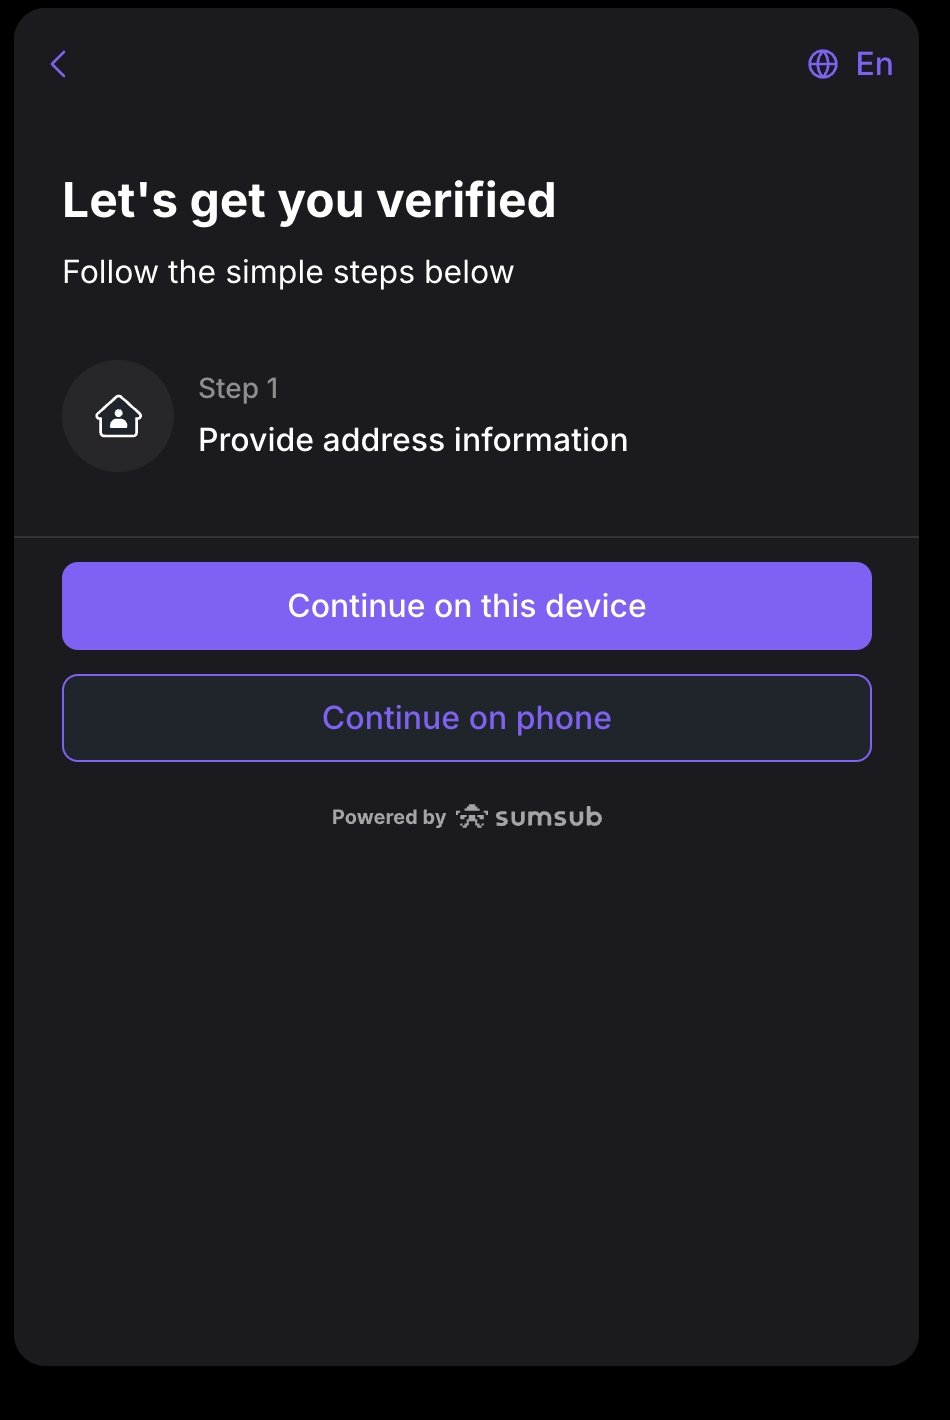
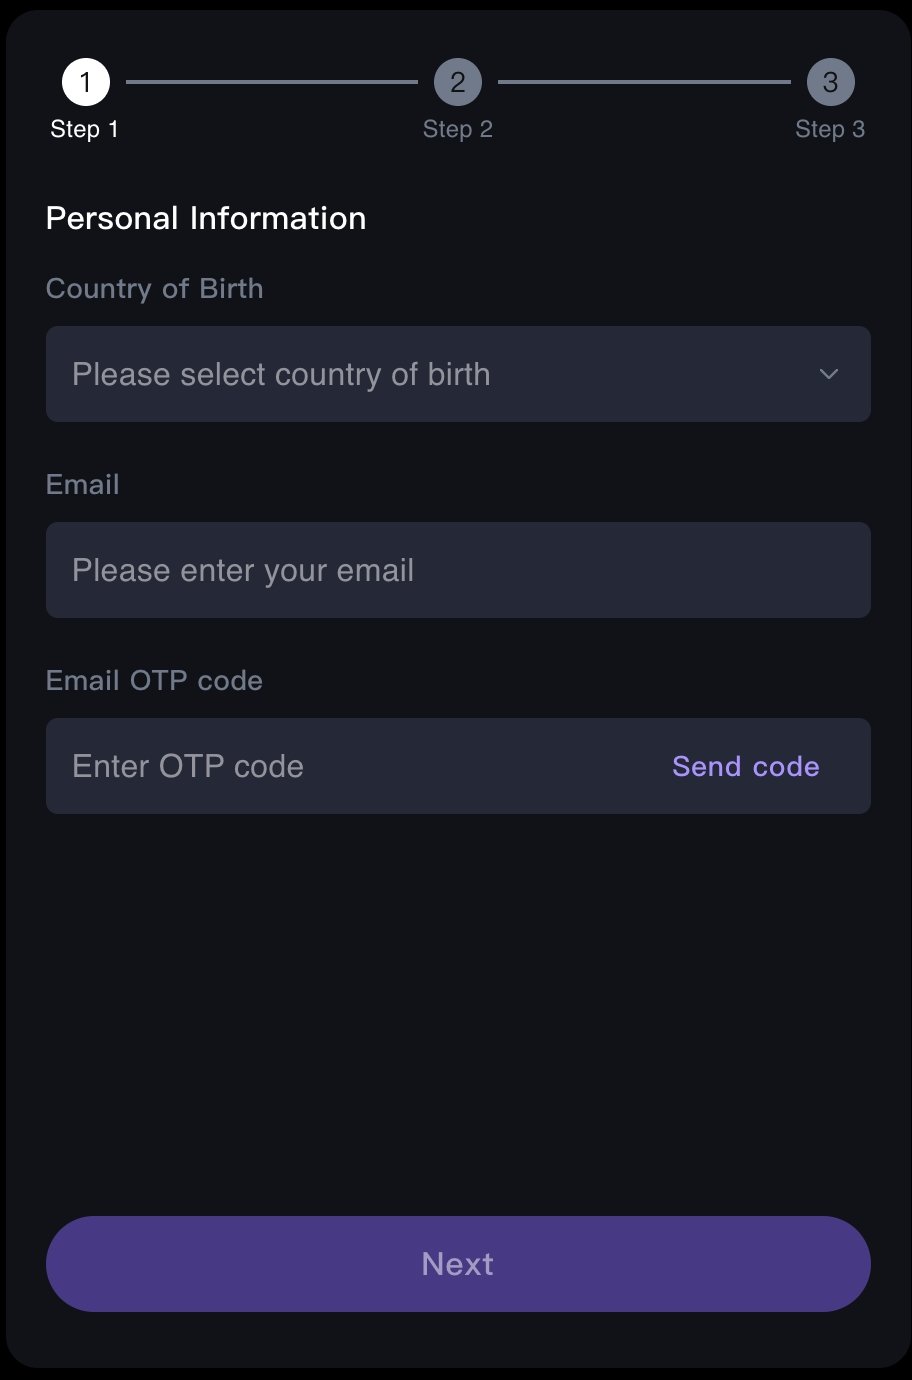
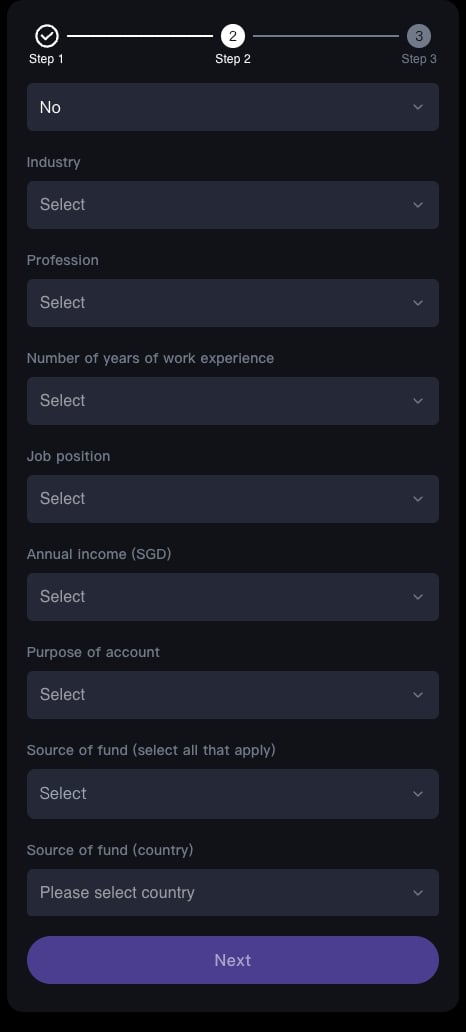
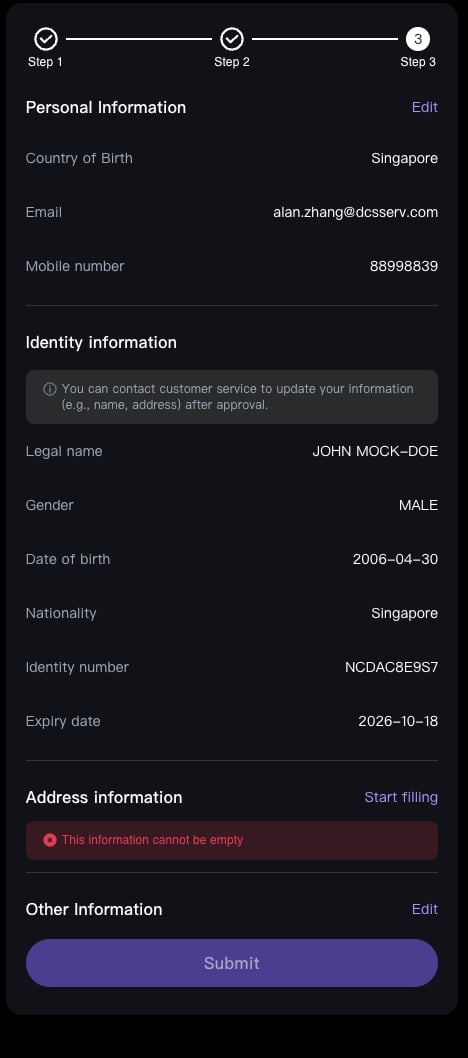
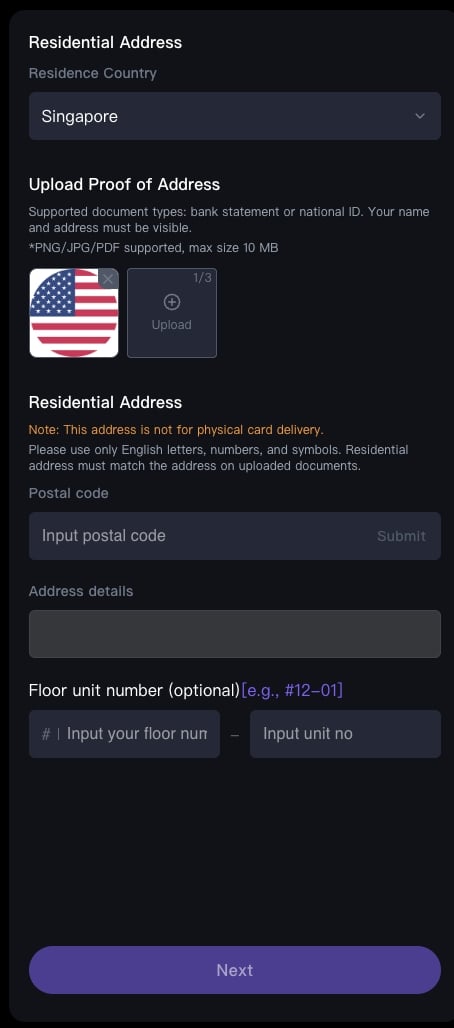
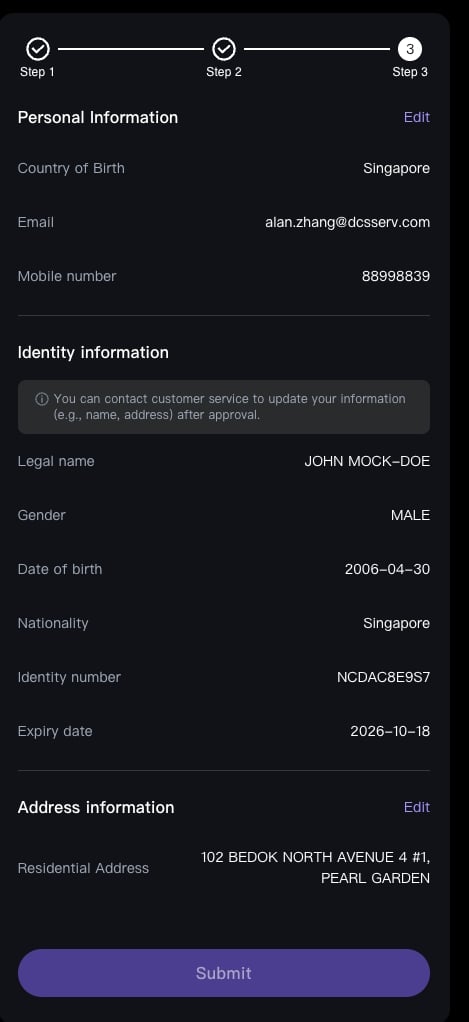
Screenshots of the H5 application flow
The two sets of screenshots below show the full experience of applying for a virtual card through the H5 guidance page, so you can preview what the pages look like. KYC vendor verification (the user completes each identity verification step inside the guidance page):
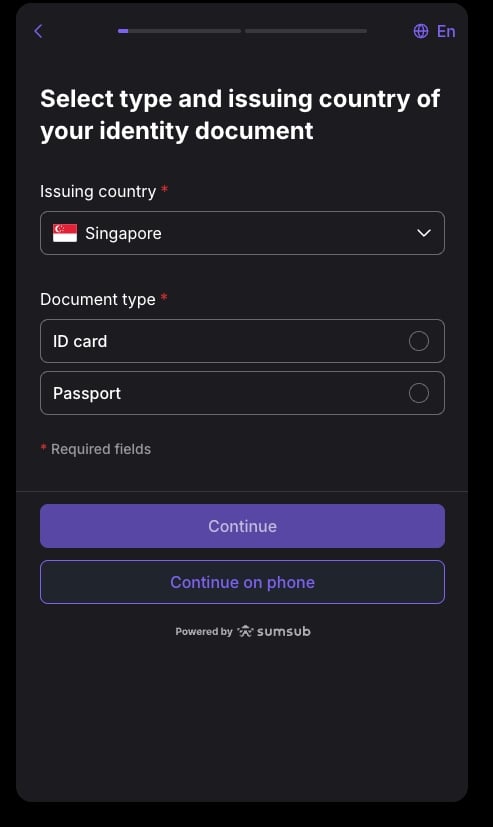
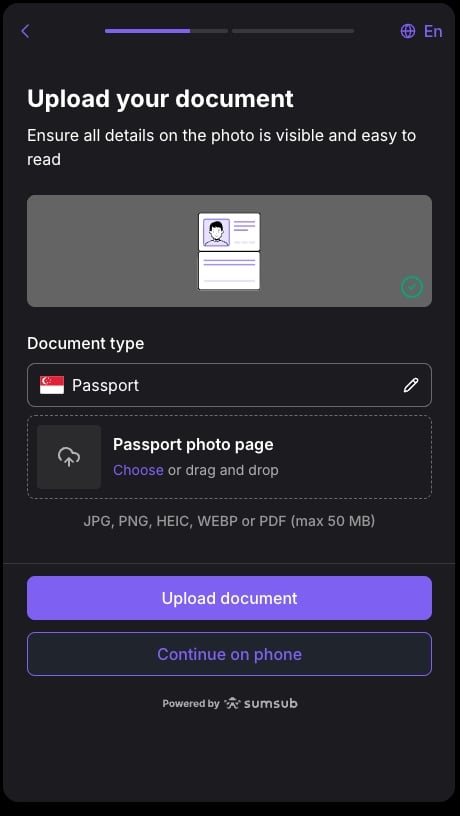
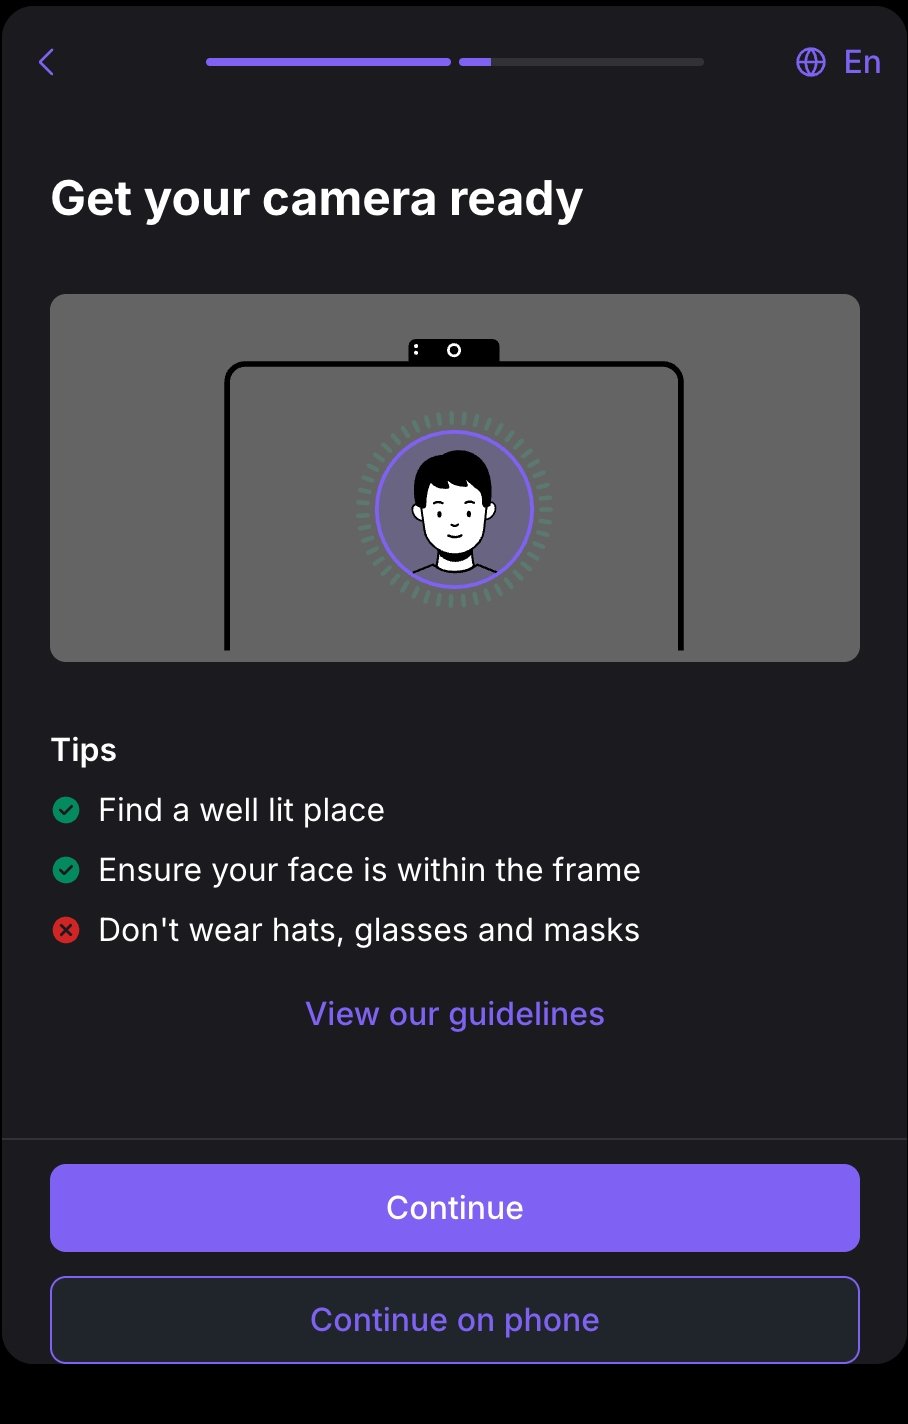
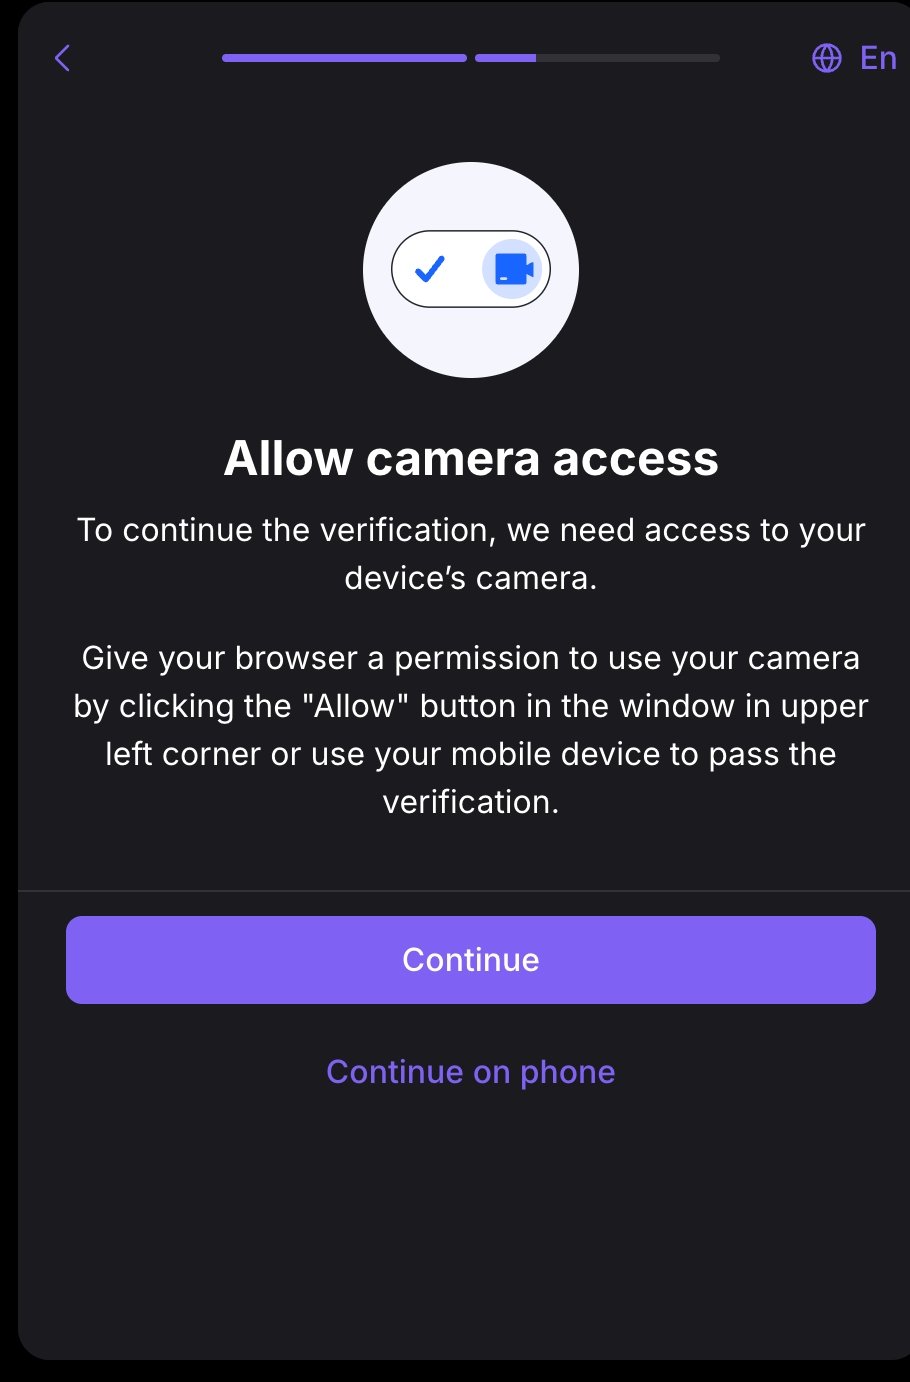

Option 2: OPEN-API
CallPOST /card/v1/virtual-card/apply to submit the application directly, KYC material included.
Request fields:
Request example (placeholders, no real data):
data):
Successful response example (masked):
POA file exchange
POA (proof of address) documents are exchanged through a pre-signed upload; you never post the file to the card issuing endpoint. Three steps:- Call
POST /account/v1/generate-file-upload-preparewith the body{ "fileNames": ["<your-file-name>"] }to obtain an upload address (a pre-signed URL) and anobjectKeyfor each file. - From your server,
PUTthe POA file to the pre-signedurlyou were given. - Pass the returned
objectKeyback as an element ofpoaDocUrlListon the card issuing endpoint (or on a later KYC top-up endpoint).
data array carries fileName (the original file name), url (the pre-signed upload address) and objectKey (the server-side object key you send back).
Upload example (Java, placeholder pre-signed URL, no PII):
The pre-signed URL accepts aPUTupload, so useHttpPut.
Ordering a physical card (H5 guidance page)
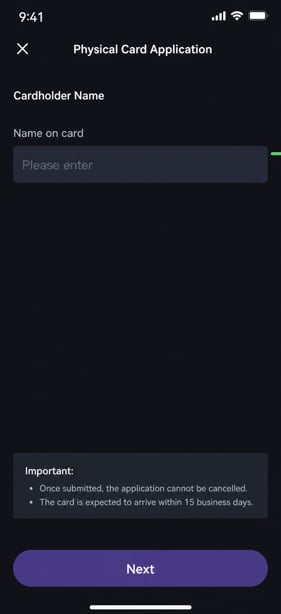
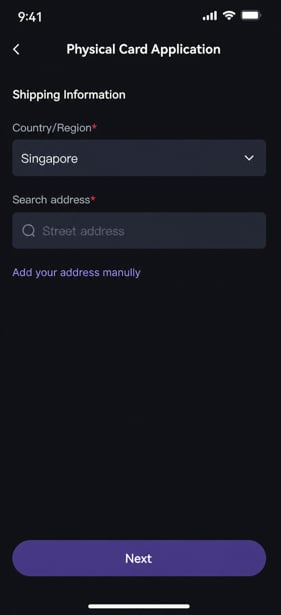
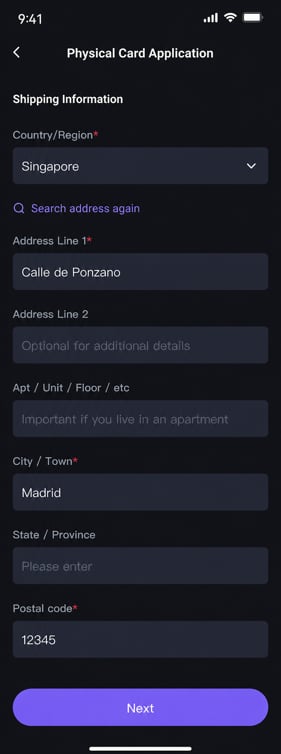
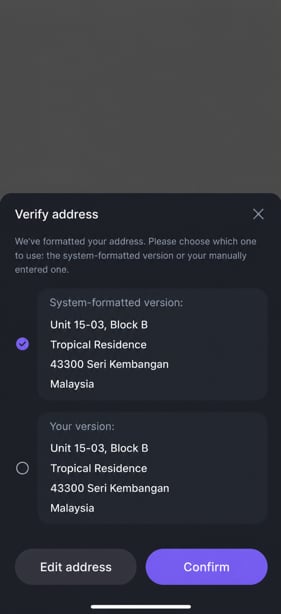
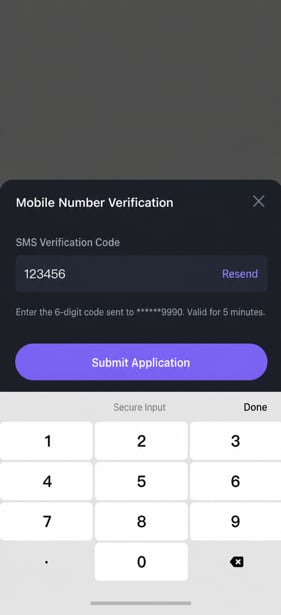
Ordering, activating and setting the PIN on a physical card all run throughPOST /redirect/v2/guidance-link, which returns the URL of the matching H5 page for your frontend to open so the user can finish the job. There is no direct API. For the guidance page parameters, see H5 KYC / Card Application Guidance Page.
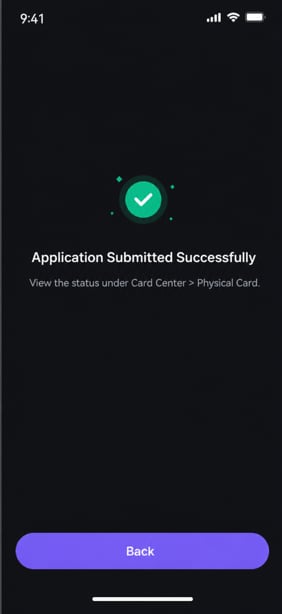
Ordering a physical card (
action=CREATE_PHYSICAL_CARD; the user fills in the shipping details inside the guidance page and submits):
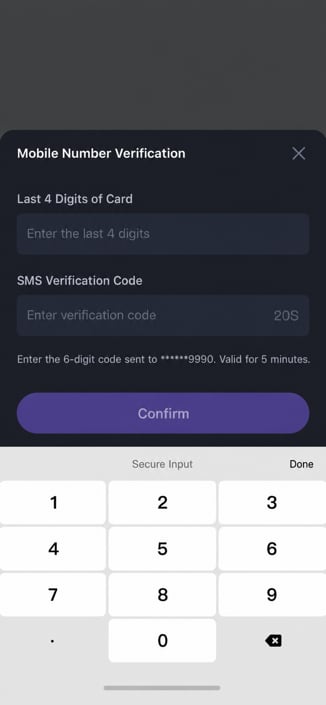
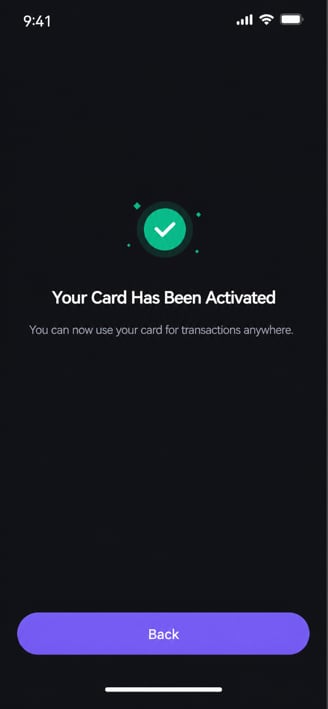
action=ACTIVE_PHYSICAL_CARD; the user activates the card inside the guidance page once it arrives):
The full instructions for setting and updating a PIN live in Managing a Card’s PIN and are not repeated here.
For shipping lookups and card status, see Managing Cards · Overview and Physical Card Shipping.
Application status
Virtual card application statuses (thestatus field on /card/v1/apply-list and on the application response):
needExtraInfo
needExtraInfo, on the application response and on the application record, tells you whether the user still has to supply more information:
Checking application status
After submitting an application, use these two endpoints to close the loop. KeepapplyId (the application) and cardId (the card) apart.
Card statuses (for reference)
Cards have two sets of status values, defined in one place in Managing Cards · Overview. They are listed here for convenience only; the Overview page is authoritative across the documentation:cardStatus(overall card status):NORMAL/FROZEN/CANCELLEDphysicalCardStatus(physical card status):UN_APPLY/INACTIVE/ACTIVE/REPLACE/FROZEN/CANCELLED
Once you have the card
- When the application returns
status=SUCCEED,data.cardIdis ready to use; a virtual card needs no activation and is usable the moment it is issued. - Use
cardIdwithGET /card/v2/detailto read the card status and the balances tied to it (see Managing Cards · Overview). - To show the full PAN or CVV, send the end user through the hosted guidance page (
action=CARD_INFO); see Viewing Encrypted Card Details. - If a physical card is wanted, run the H5 guidance pages in order:
CREATE_PHYSICAL_CARD → ACTIVE_PHYSICAL_CARD → UPDATE_PIN(see the physical card section above).
Next steps
- Values for the
kycInfoenum fields (poaDocType, employmentStatus, occupation, sourceOfFunds and so on): see Card Application Data Dictionary. - Freezing and unfreezing, cancellation, card replacement and the card state machine: see Managing Cards · Overview.
- Setting or updating the PIN: see Managing a Card’s PIN.
- Adding the card to Apple Wallet or Google Wallet: see Push Provisioning.
- Deposits and spending authorization: see User Balance.